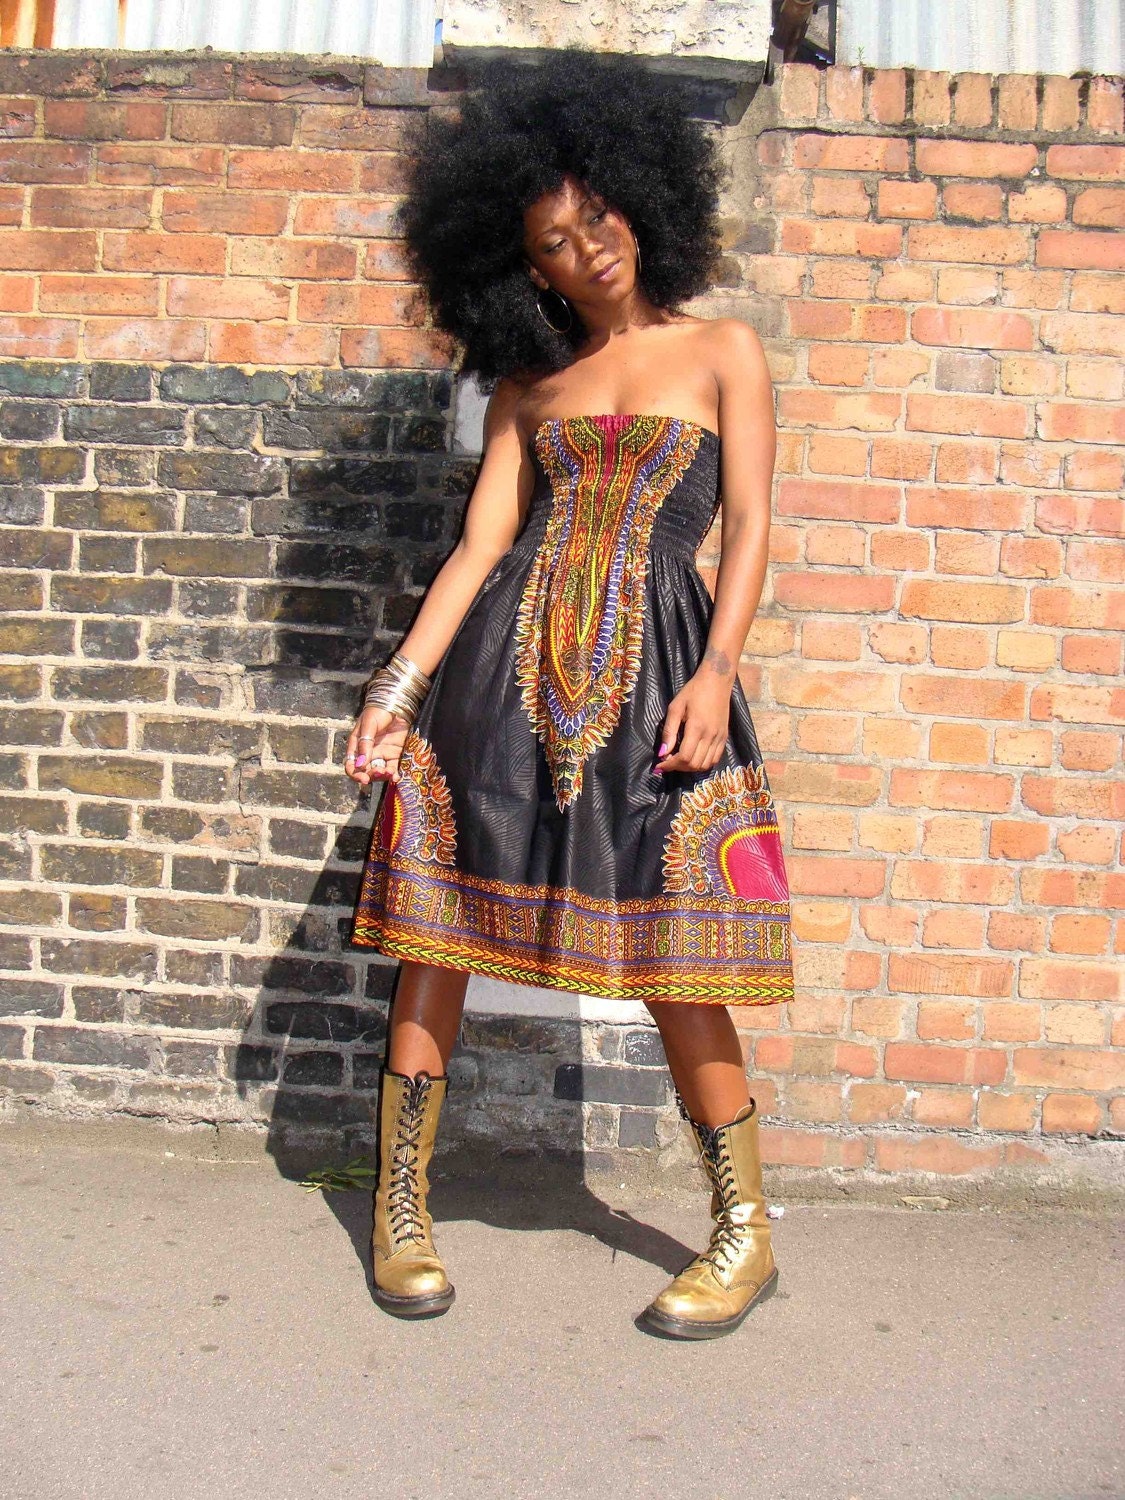
I still want to find a billowy white long-sleeved shirt and some petticoats to give more flare to the skirt, and I have to tailor the vest a little since it's too big (it's the most recent piece, and I ran out of time with it), but overall, it's pretty complete.
Quick run down of how I did it:
Head scarf - scrap of purple jersey fabric from a shirt that was too big. $0
Forehead jewel - a bolo tie from a rummage sale. I slid the jewel all the way to the center and tied the ends behind my head. The head scarf covers the knot. ~50¢
Hair - washed the night before, braided in 8-10 tight braids, and left to dry at least 12 hours to make tight waves; scrap lengths of colored ribbon tied in near the scalp. $0
Earrings - clearance at Claire's. ~$4
Undershirt - from my closet. $0
Vest (see DIY below) - made from a thrifted vest. $6 vest, ~$3 embellishments and notions
Sky blue scarf around waist - wedding gift. $0
Teal & black scarf around waist - Goodwill. ~$1
Skirt (see DIY below) - made from Goodwill skirt and fabric. ~$2 skirt, ~$2.50 fabric
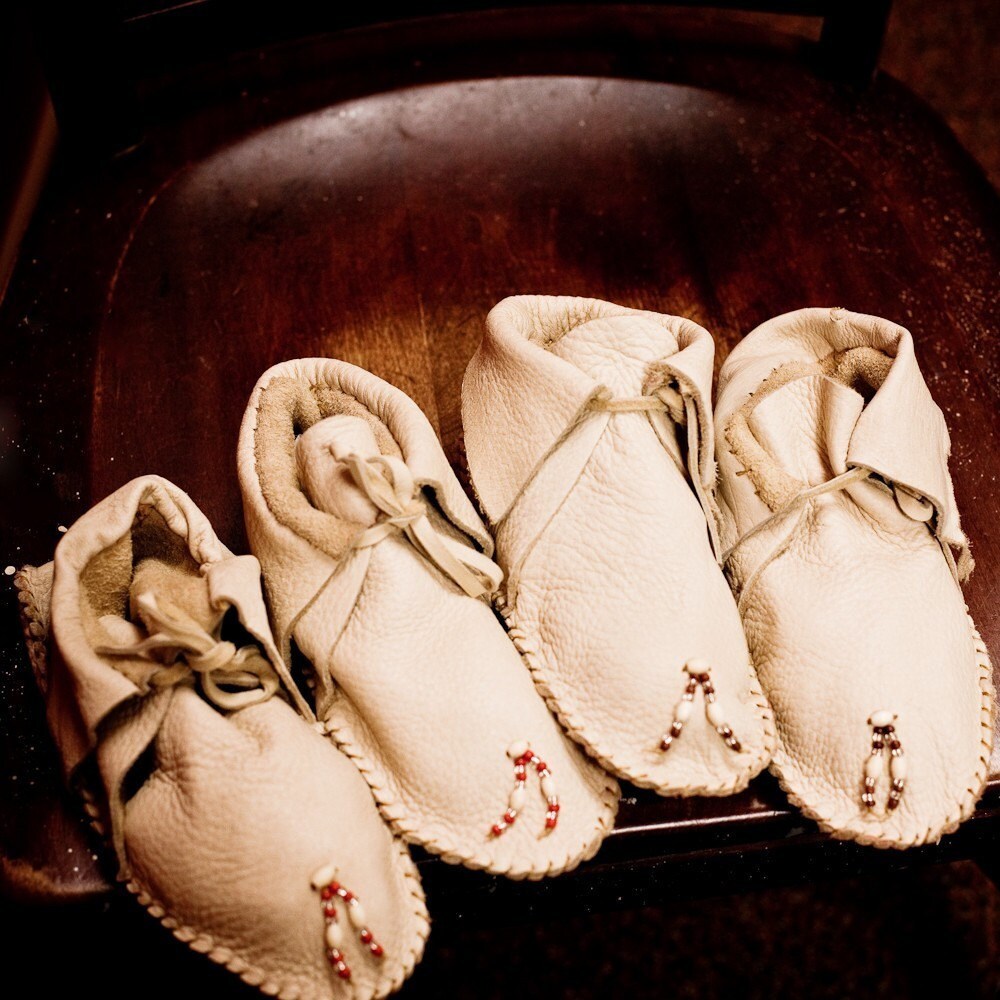
Shoes - (usually) black suede fringed moccasins from my closet. $0
Total cost: around $19
Making the skirt
This was the first piece of the costume I made. I started with a narrow almost-pencil skirt. It had six separate panels, and along each of these seams, I cut a slit to about six inches from the waistband.
I bought a couple yards of fabric from the Walmart clearance rack and cut from it six tall, narrow triangles the height of the slits in the skirt by about eight inches across the bottom. I sewed one triangle into each slit in the skirt.
I cut the remaining fabric into lengths about six inches wide and sewed them together into one long length. I loosely basted one edge and gathered it to the same length as the circumference of the hem of the skirt and then sewed it on.
Making the vest:
(Please forgive the red-toned photos. I had one evening to do this, and I discovered that photographing red clothing in my lighting doesn't work the best.)
I started with this:
The best I could find at the thrift store was a zip-up collared vest a size too large, but I decided to see what I could do with it.
First, I put on the vest inside out and with a quilting pen (the kind that disappears on its own), I drew a line under the bust where I wanted the vest to end. I then cut along this line to a point about 1.5 inches from the arm hole. I then continued cutting along the arm hole to the shoulder seam.
Here's what I had at that point:
Next, lined up the sides of the zipper, so I had the cut side laying atop the uncut side as pictured above. I traced the cut I'd made onto the uncut side, and cut along those lines.
That left me with this:
This is the point where I started panicking that I wouldn't finish in time, and combined with the poor quality of the lighting, I just stopped taking photos.
The next step was to decide the point at which I wanted the back neckline to be. I folded the vest in half and cut all the way across. Since the vest was too large, I cut through to the armholes, followed the 1.5 inch wide straps all the way to the cut and sewed the straps on at a point where they fit me better, but if your vest already fits, you would cut to the 1.5 inch point from the armhole, follow that up to the shoulder seam, and your straps would be complete.
At this point, I tried on the vest to make sure it fit the way I wanted. Then I used doubled-fold bias tape to finish all the raw edges I'd cut, sewed some gold ric rac on the front and tacked on the ribbon "corset". At some point, I intend to finish the vest by making the front an actual lace-up corset, but I didn't have the time this year.


